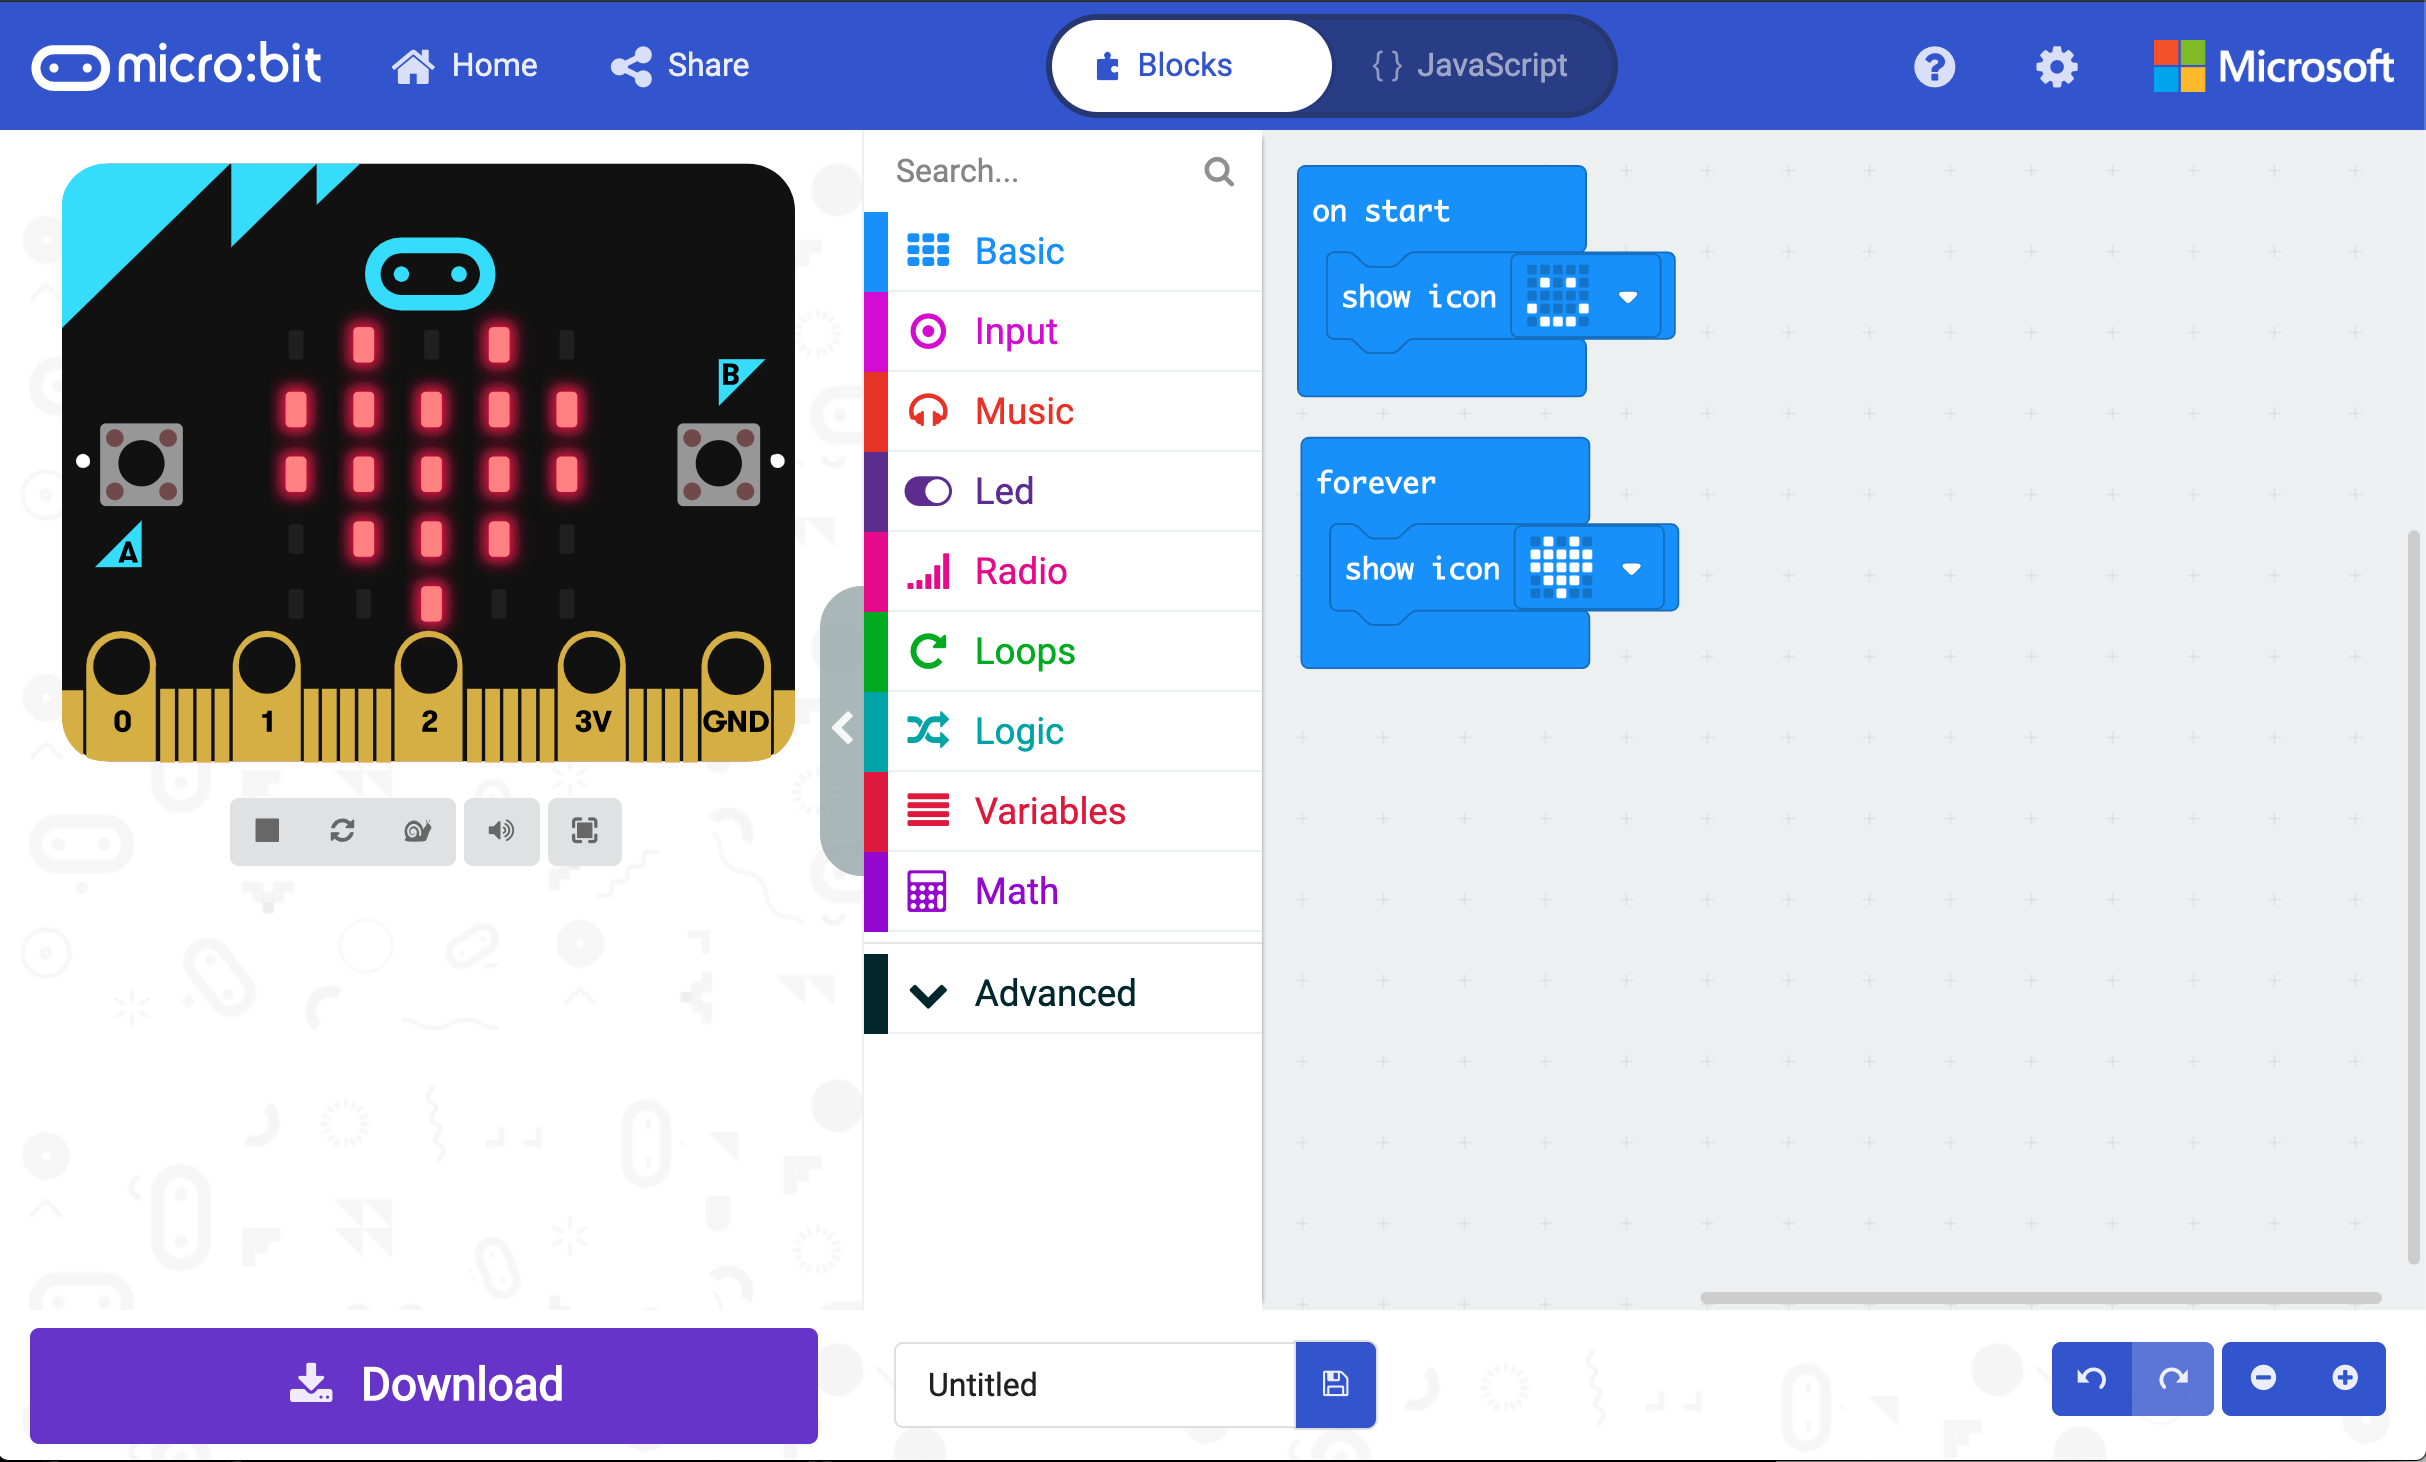
Makecode can be done by dragging and dropping blocks around in the web editor. Many people
start coding on the micro:bit using block coding and move on to the more code-like micropython.
Both editors let you create programs using your web browser and then download the program to
your computer and onto your micro:bit.
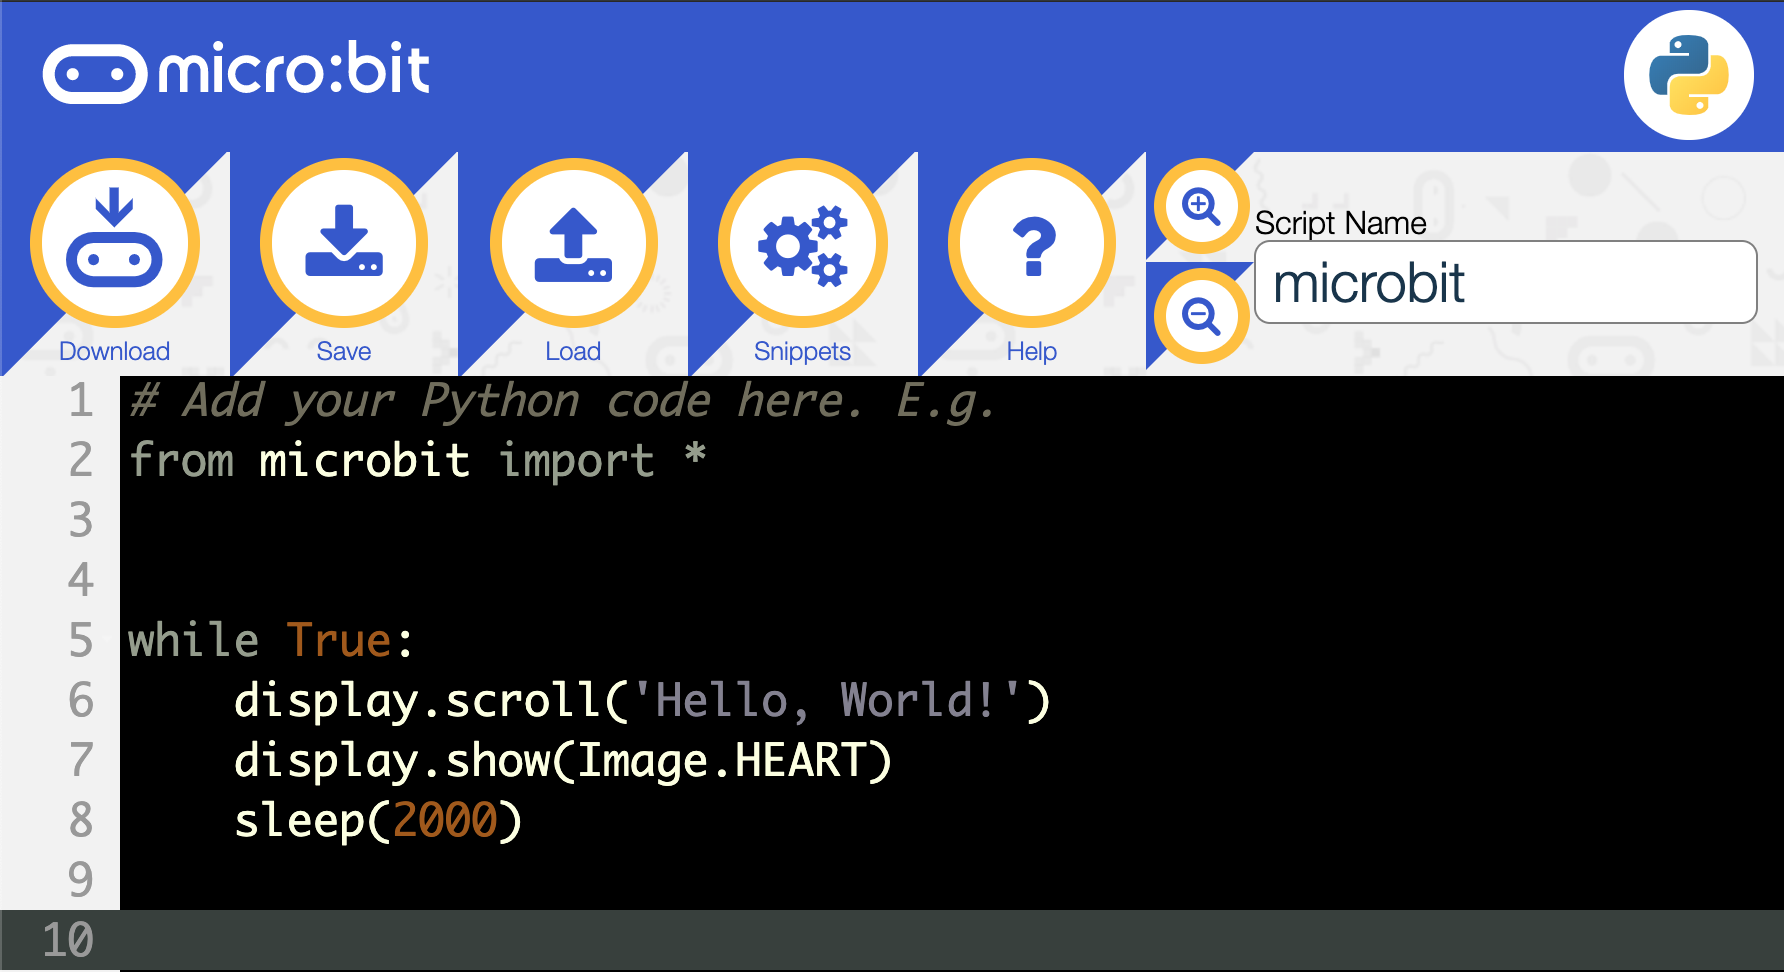
All of these Python code examples are meant to copied into the
MicroPython Web Editor.
Be sure to save often! Once you download the code, load it onto the Microbit as you've done before.
The first few activities were modified from the
Microbit micropython tutorials.
Hello World - variables
# Go get some libraries
from microbit import *
# This is a variable
name = "Your Name Here"
# This means the code runs forever instead of just once
while True:
# Command to make text scroll on the LED screen
display.scroll(name)
# Add an age variable and scroll it too
# The pound sign means a comment
CyberPet - if statements
Let’s make a very simple cyber-pet. It’s always sad unless you’re pressing button A.
If you press button B it dies.
(I realise this isn’t a very pleasant game, so perhaps you can figure out how to improve it.):
from microbit import *
while True:
if button_a.is_pressed():
display.show(Image.HAPPY)
elif button_b.is_pressed():
break
else:
display.show(Image.SAD)
display.clear()
#try out other images too.
Make your MicroBit go through a lot of emotions really fast by scrolling through
all the face images in a list.
from microbit import *
# These are the frames of the animation
frames = [
Image.image1,
Image.image2,
Image.image3,
Image.image4,
Image.image5,
Image.image6,
Image.image7,
Image.image8,
Image.image9,
Image.image10]
# Make it loop forever.
display.show(frames, delay=500)
# The delay is in microseconds.
# How long is this delay in seconds?
Make a different list of images scroll in the animation.
Musical CyberPet Challenge!
Take the code from the cyberpet activity and make the pet play music when either
button A is pressed or button B is pressed. Don't make the "default" state (no buttons being pressed)
play music - or you'll be sorry you did.
# Required to use the music for micro:bit
import music
# Play the music only once.
music.play(music.NYAN)
"""
Here is a complete list of the built-in music.
music.DADADADUM
music.ENTERTAINER
music.PRELUDE
music.ODE
music.NYAN
music.RINGTONE
music.FUNK
music.BLUES
music.BIRTHDAY
music.WEDDING
music.FUNERAL
music.PUNCHLINE
music.PYTHON
music.BADDY
music.CHASE
music.BA_DING
music.WAWAWAWAA
music.JUMP_UP
music.JUMP_DOWN
music.POWER_UP
music.POWER_DOWN
"""
Create a Magic 8 Ball with the Microbit. Every string you put in the list is one of the
possible responses. The random choice command selects one of the things off the list.
from microbit import *
import random
answers = [
"It is certain",
"It is decidedly so",
"Without a doubt",
"Yes, definitely",
"You may rely on it",
"As I see it, yes",
"Most likely",
"Outlook good",
"Yes",
"Signs point to yes",
"Reply hazy try again",
"Ask again later",
"Better not tell you now",
"Cannot predict now",
"Concentrate and ask again",
"Don't count on it"
"My reply is no",
"My sources say no",
"Outlook not so good",
"Very doubtful",
]
while True:
display.show("8")
if accelerometer.was_gesture("shake"):
display.clear()
sleep(1000)
display.scroll(random.choice(answers))
Making an LED Blink with Microbit
Lets make an LED blink on and off.
The way to make an LED blink is to follow this sequence of code instructions over and over again:
Turn the LED on
Delay for a period of time
Turn the LED off
Delay for a period of time
The code for this is different depending on which programming platform you have chosen to use.
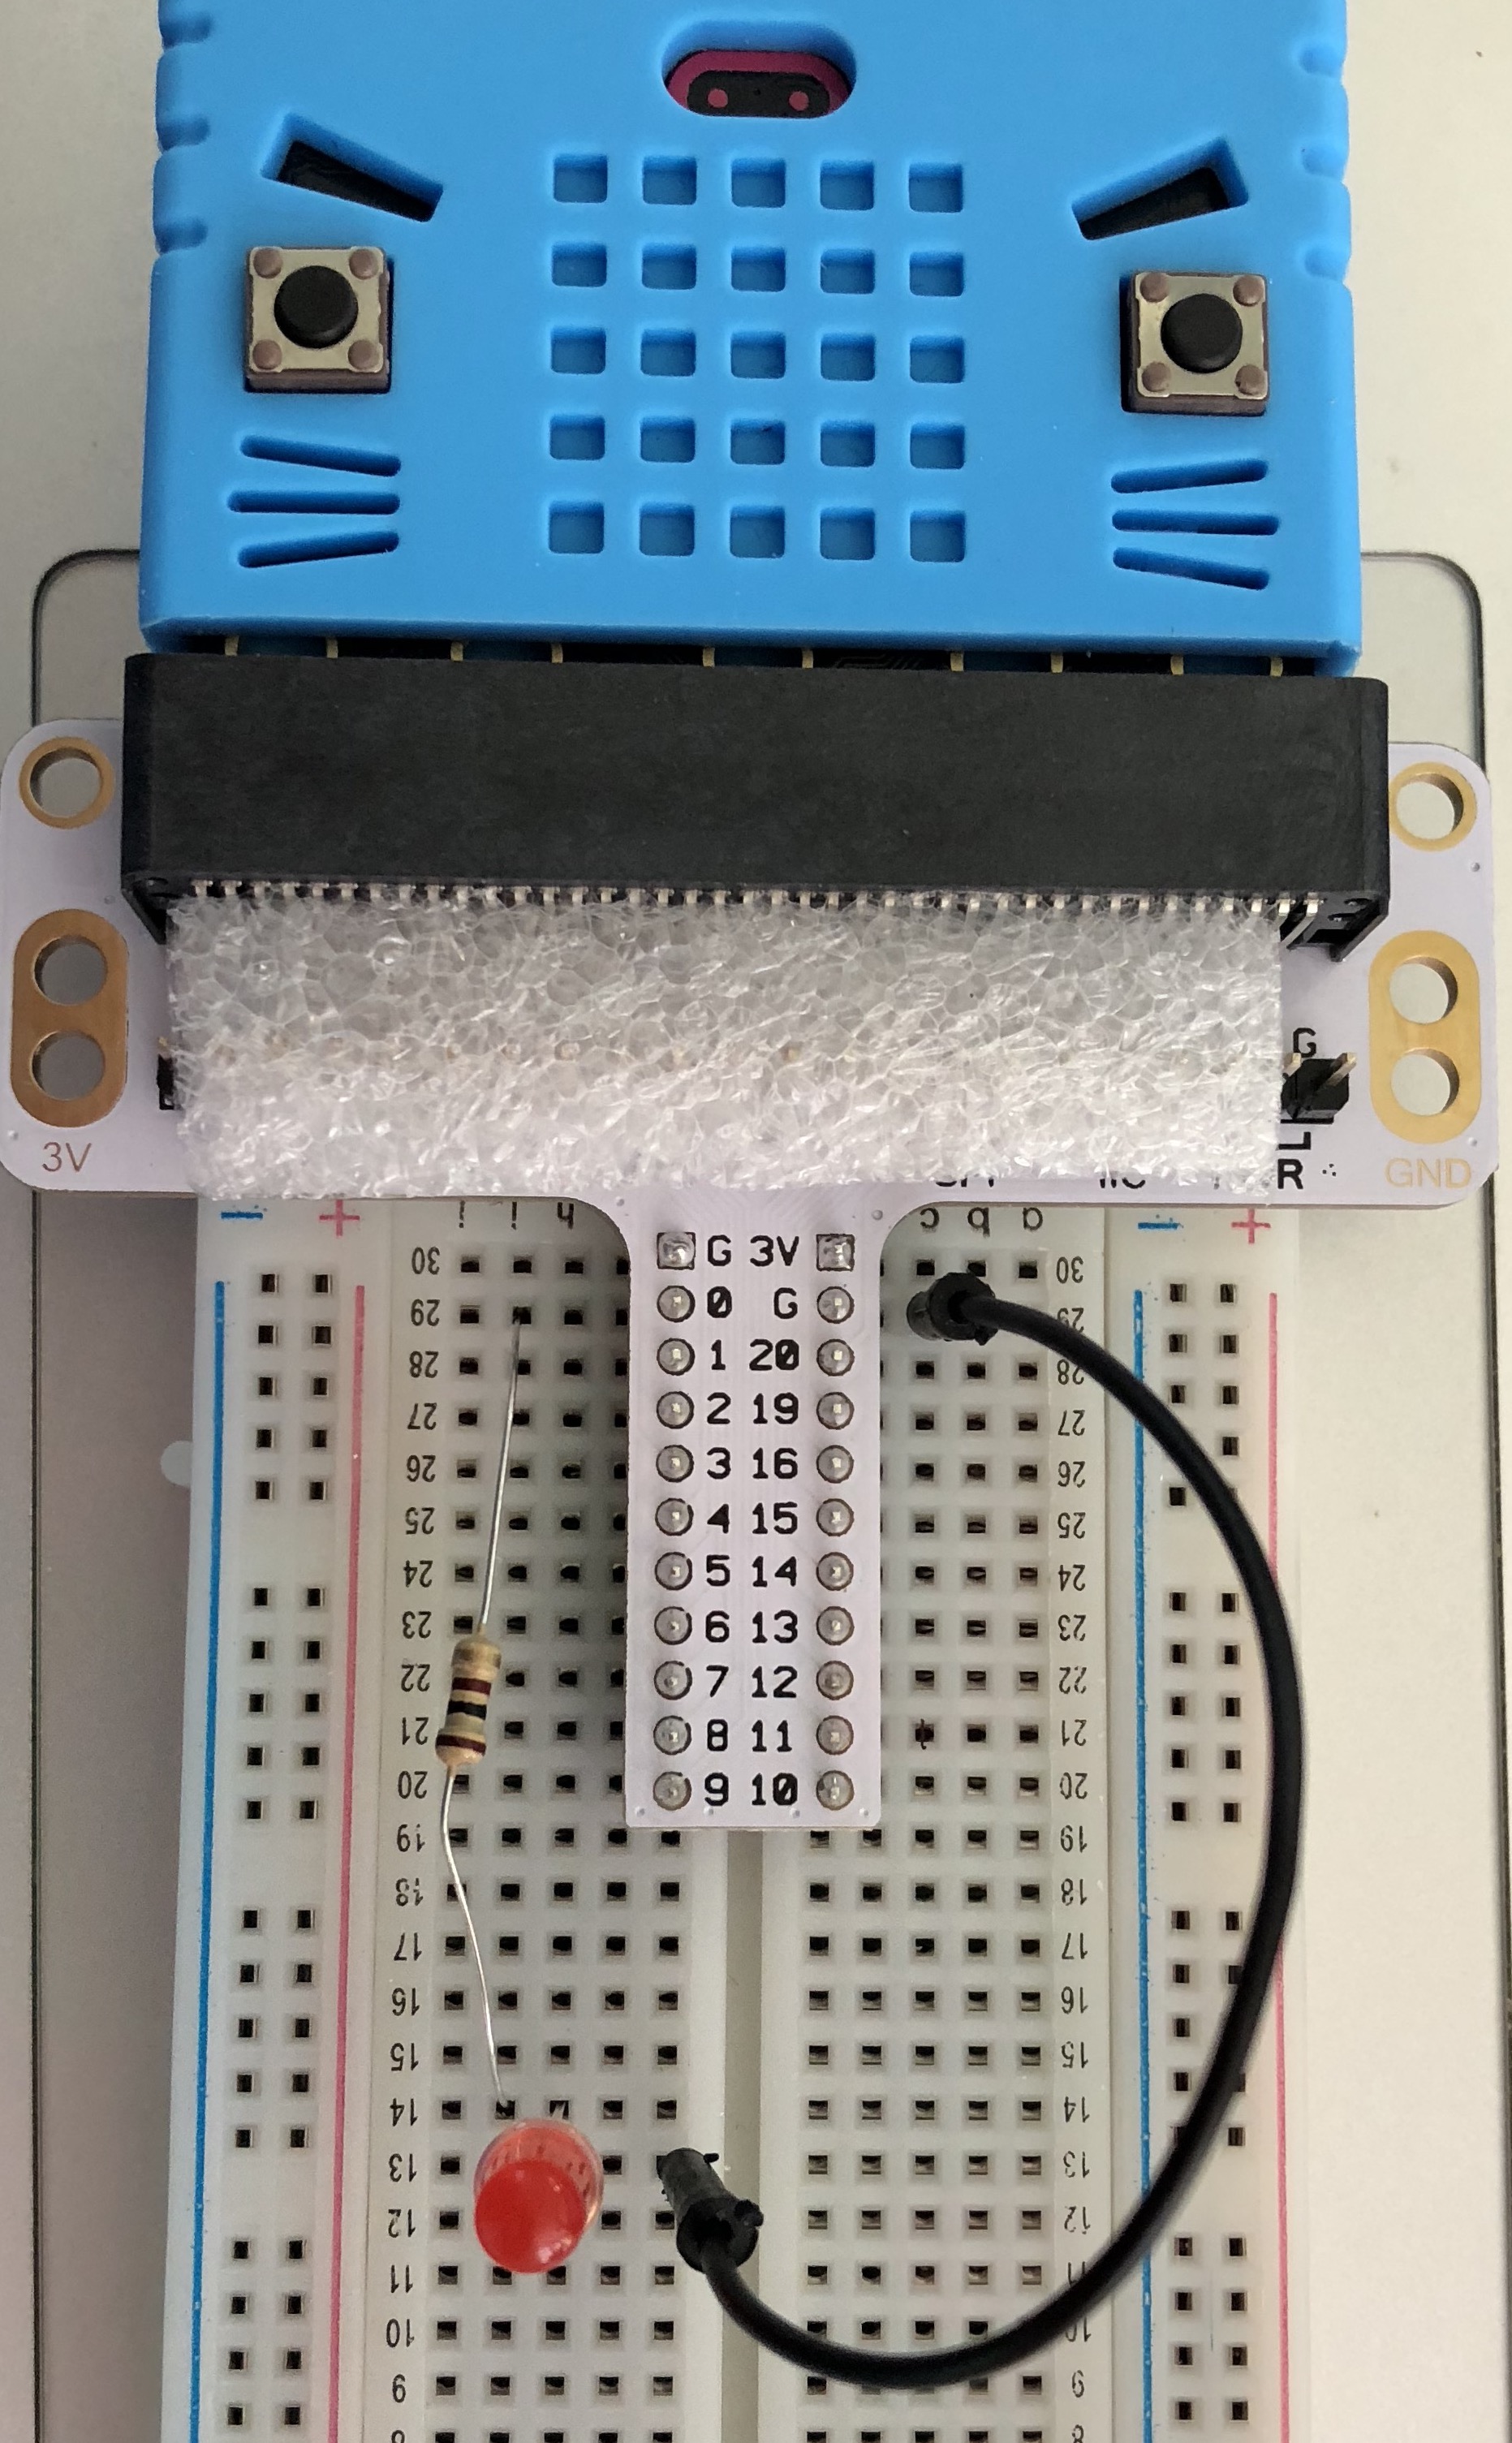
First build the circuit using an LED, a resistor, and the breadboard.
The positive lead or wire on any LED is the longer side. This attaches to the red or positive
of your circuit. That side will connect a resistor which connects to pin 0 on the Microbit. You will need
to connect the leads (wires) to the breadboard and attach the tail to the breadboard and the
Microbit to the tail. Then copy the code below and load it onto your Microbit.
The LED should blink once per second. This was modified from the
AdaFruit Microbit lessons.
Makecode version
MicroPython Version
from microbit import *
while True:
pin0.write_digital(1) # turn pin0 (and the LED) on
sleep(500) # delay for half a second (500 milliseconds)
pin0.write_digital(0) # turn pin0 (and the LED) off
sleep(500) # delay for half a second
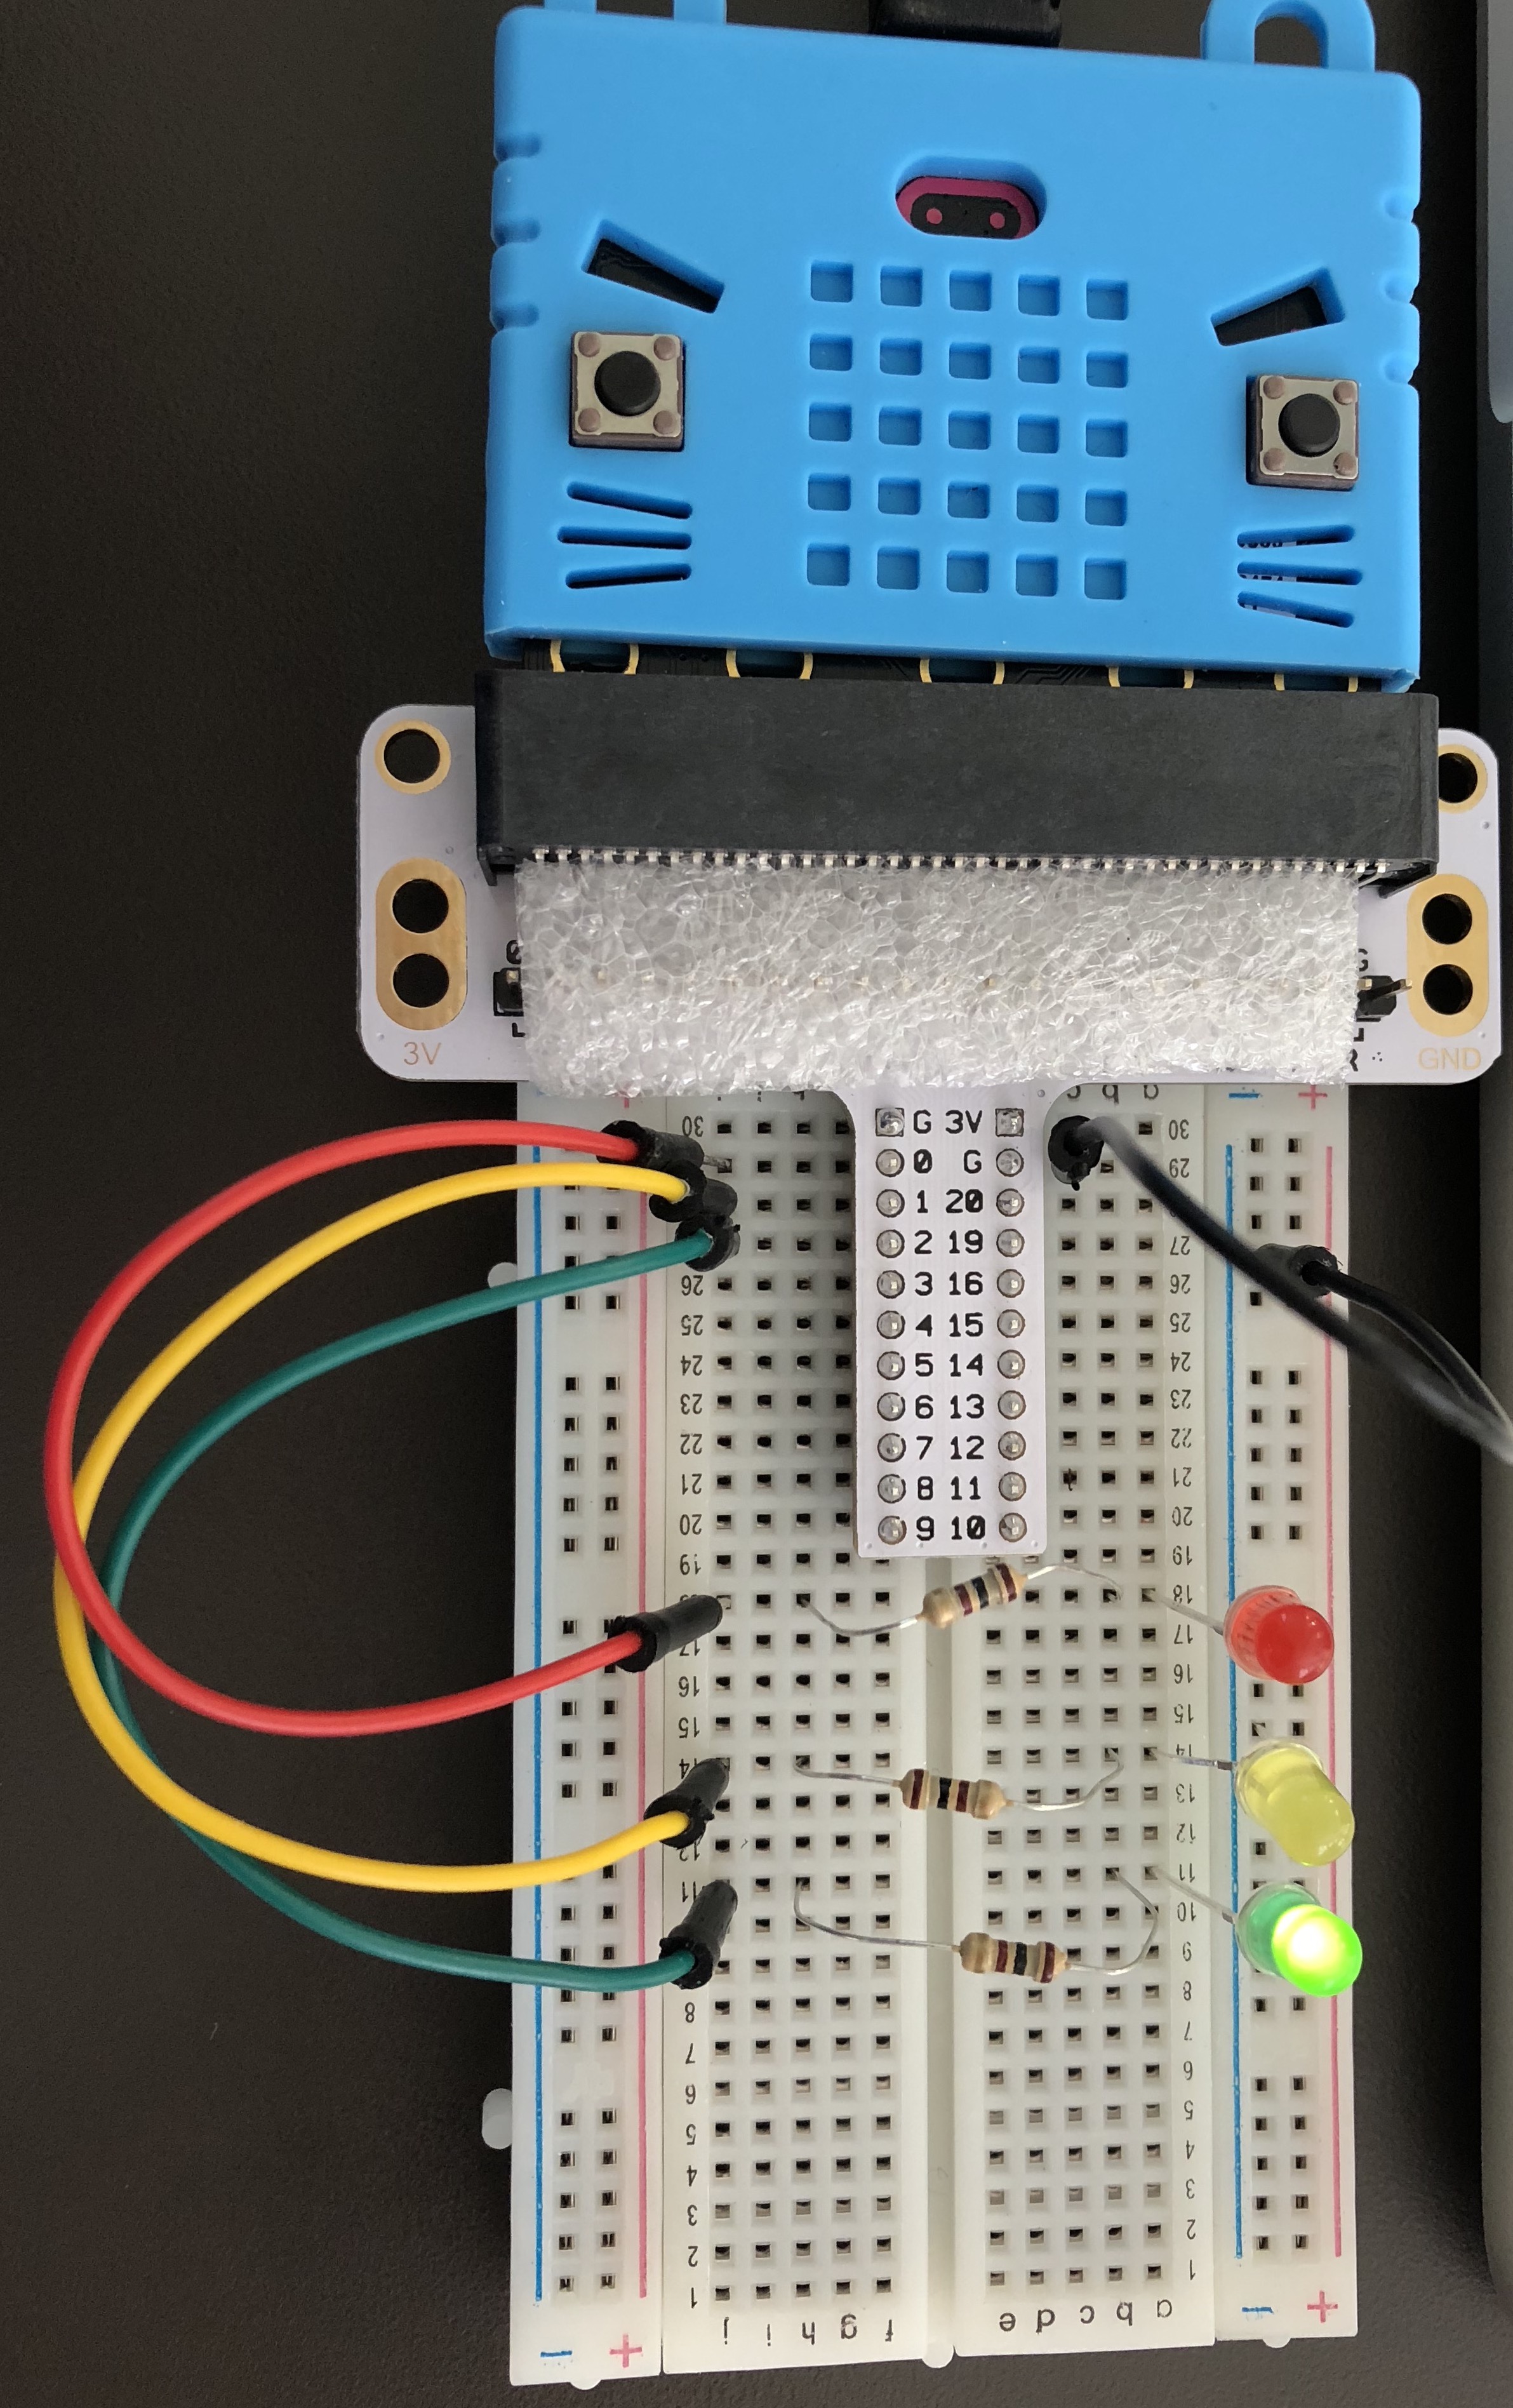
Microbit Traffic Light
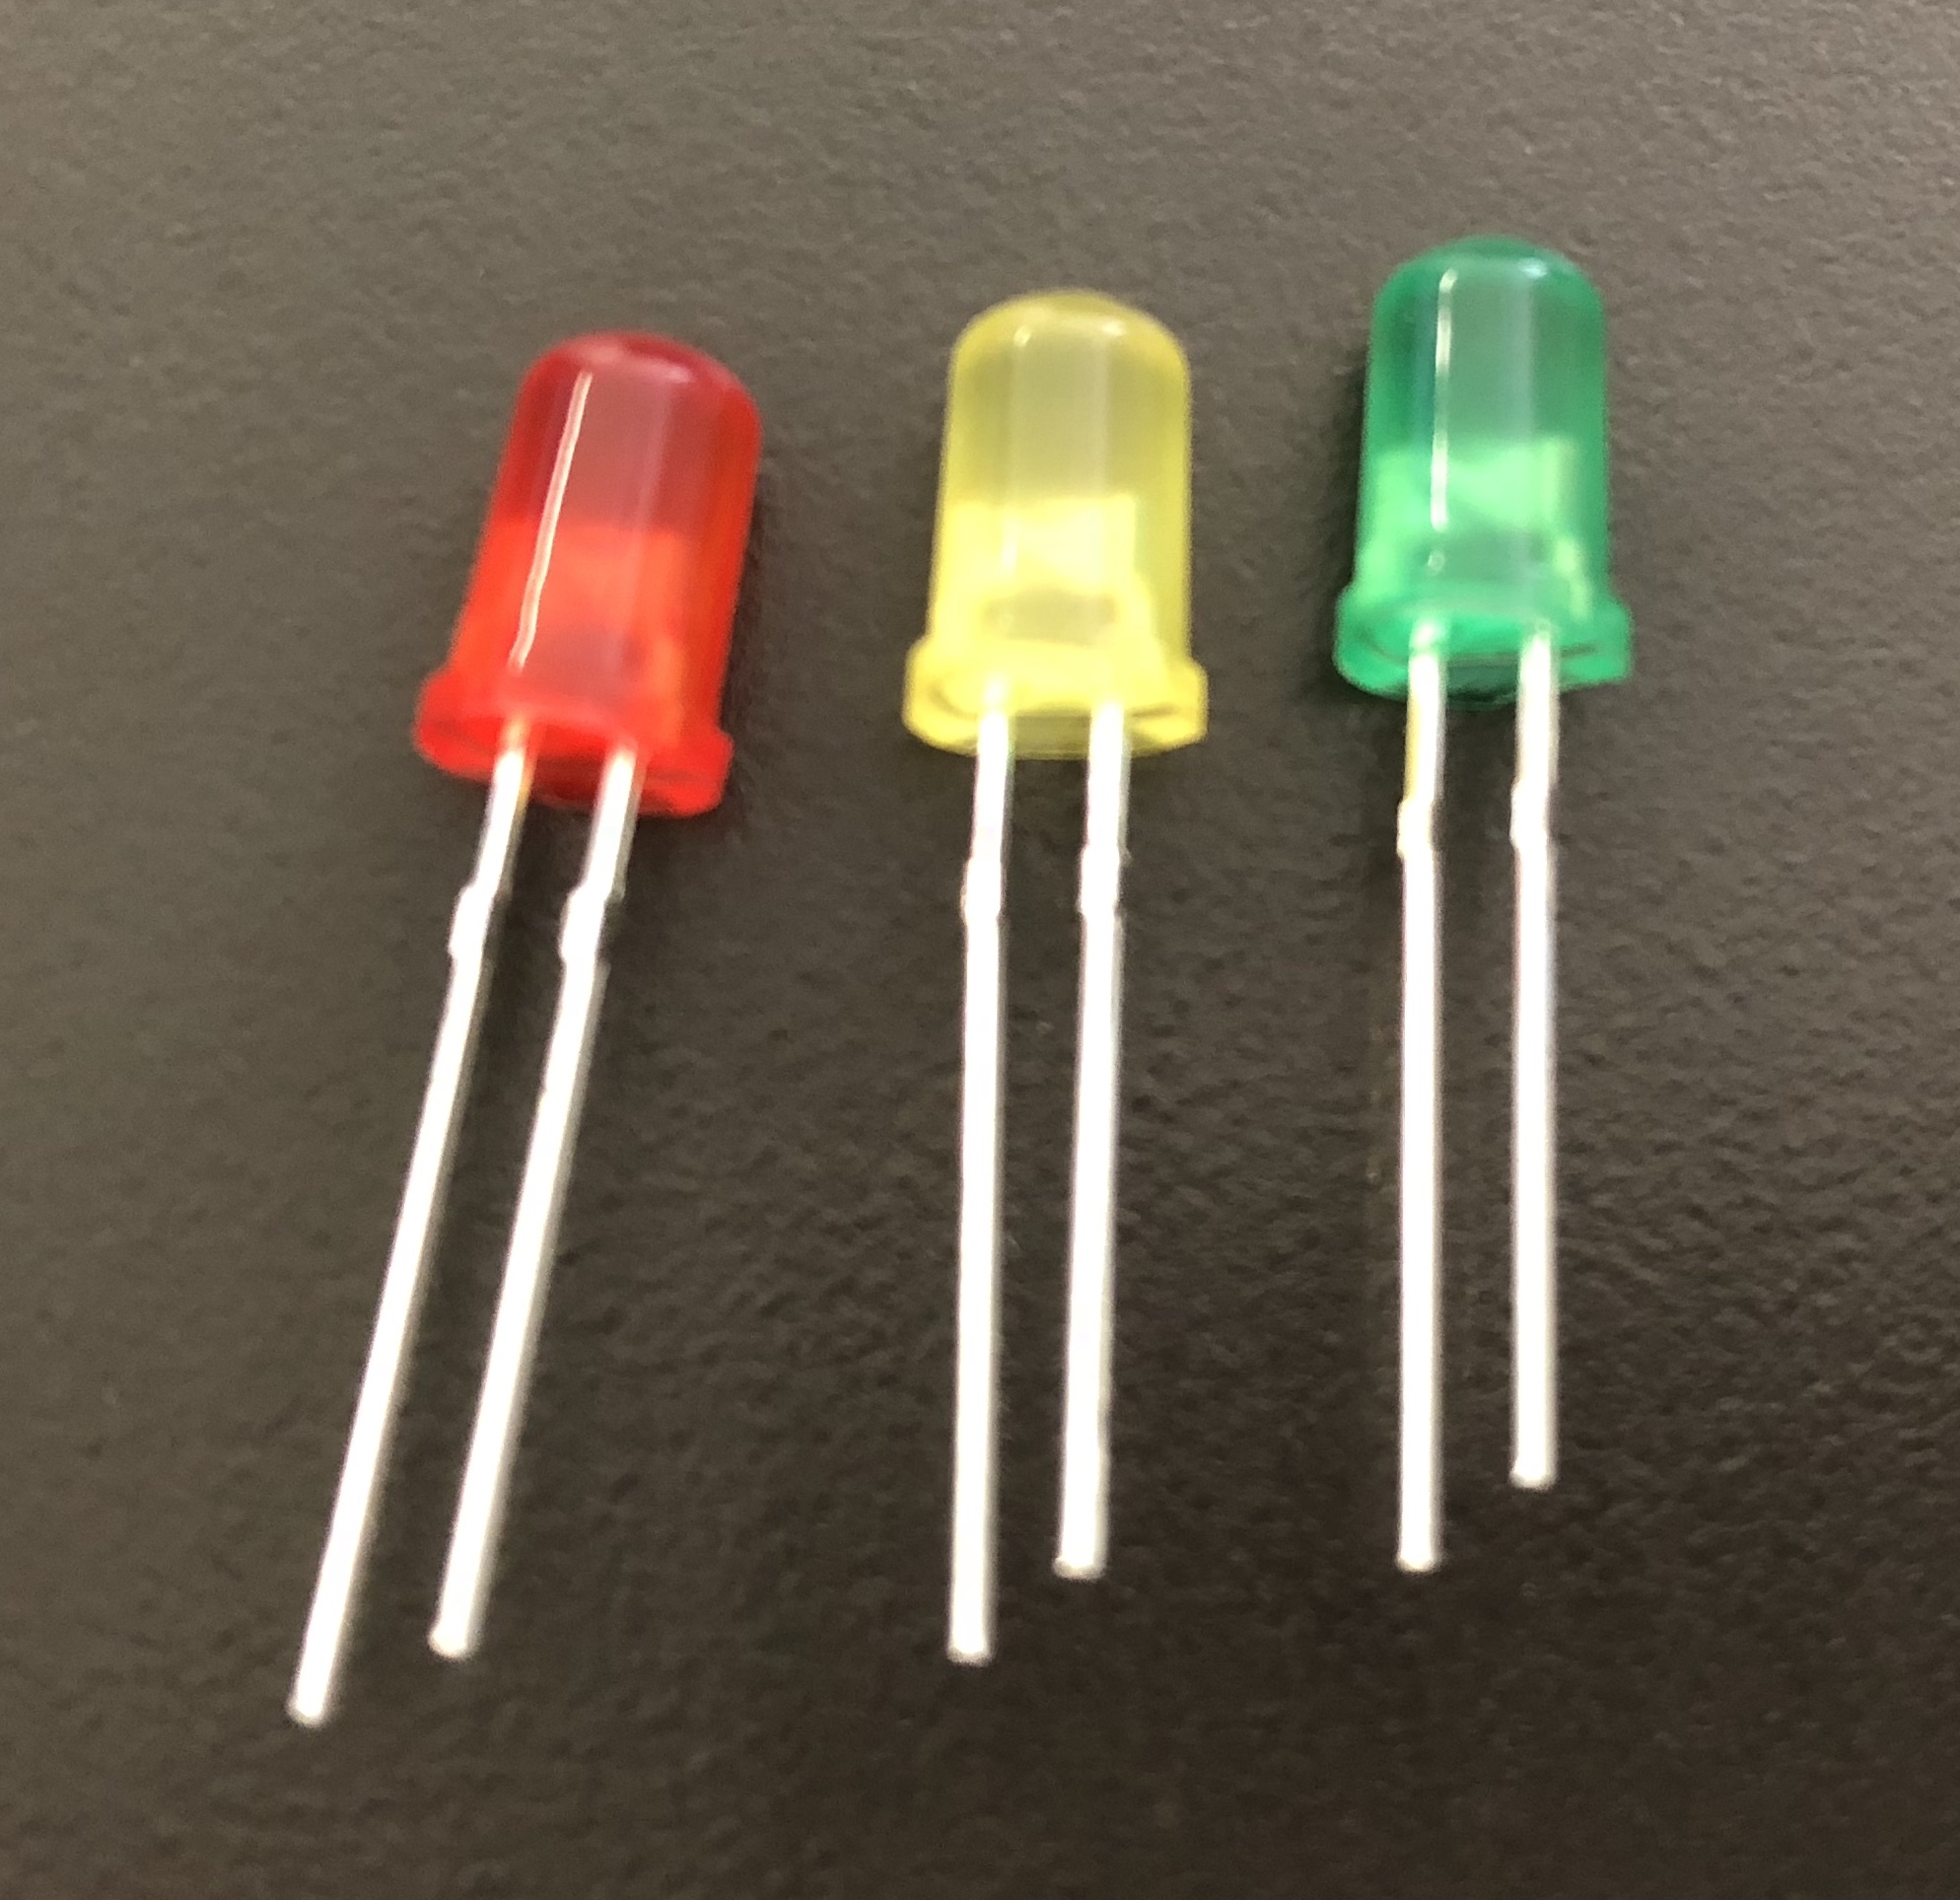
This time build the circuit using 3 different colored LEDs (red, yellow, and green),
3 resistors (one per LED), and the breadboard. You will need
to connect the leads (wires) to the breadboard and attach the tail to the breadboard and the
Microbit to the tail, just as before. Then copy the code below and load it onto your Microbit.
The circuit should act like a traffic light (sort of).
from microbit import *
red_pin = pin0 # giving the LED pins names by using variables
amber_pin = pin1 # makes it easier to see how the program works
green_pin = pin2
while True:
# red - turn amber LED off and red LED on
amber_pin.write_digital(0)
red_pin.write_digital(1)
sleep(4000) # delay 4 seconds
# amber - turn red LED off and amber LED on
red_pin.write_digital(0)
amber_pin.write_digital(1)
sleep(1000)
# green - turn amber LED off and green LED on
amber_pin.write_digital(0)
green_pin.write_digital(1)
sleep(4000)
# amber - turn green LED off and amber LED on
green_pin.write_digital(0)
amber_pin.write_digital(1)
sleep(1000)